
Drawing the Face
 First up, begin with sketching the framework or the skeletal structure of the face. Just draw a circle, then a cross slightly below the centre of the circle.
  Now we'll draw the chin out from the side of the cross. The horizontal line of the cross indicates the eye and ear level, the vertical line is the center of the face. This completes the skeletal structure illustration of a human face.
  Sketch out the location of the nose, mouth, and the line at the forehead portion indicates where the hair should be located.
 From here, start illustrating the eye, the brow, and all the other facial structure that you wish to place for your manga character.
Sketch out the hair from the hair line that we've sketched before.

Here i included some shadings for the sketch.
.jpg) Finally, complete the artwork with inking.
Finally, complete the artwork with inking.It is the same thing drawing faces from side way view. The only difference is adjusting the position of the cross.

For sideway view, imagine that the cross is moved across the surface of a globe to the sideway, thus forming a "T" shape. Again, the horizontal line is the eye and ear level line whilst the vertical is the nose and mouth level line.
 Place the positioning of the eye, ear, nose, mouth and chin.
  Sketch out the face in detail.
.jpg) And complete the cycle with inking.
And complete the cycle with inking.
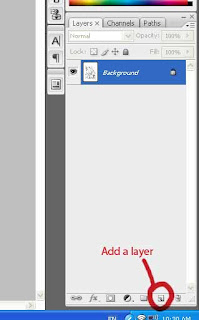

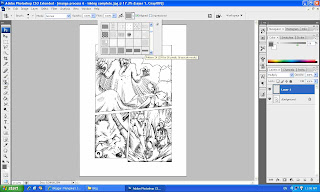

 Double check your manga to see if there're any extra lines that were drawn, correct them using white ink or if you're as lazy as I am, you can just scan your manga into computer and correct the flaws using photo-editing software, in this case, I used Photoshop for all my touch up work.
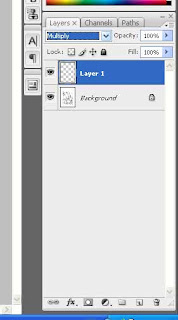
 If you haven't notice anything yet, there are couple of areas that I wanted to touch up in my manga, here I've circled them up for your reference so you know what I'm actually doing.
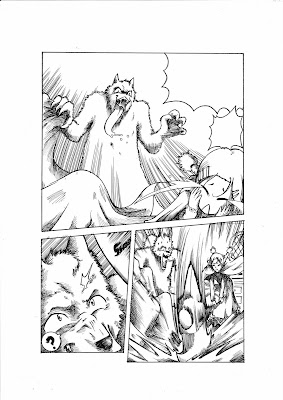
 Alright, now I'm done with touching up, tada!
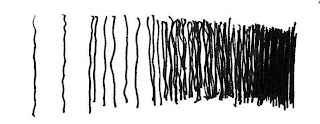
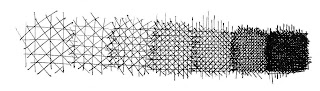
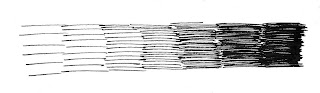 A variation of this technique is by hatching the line in perpendicular form. This is more suitable for objects with steel, smooth surface or cylinder and round objects such as street lamps, iron ball and so on. Similar to the previous style, closer line formation creates darker tones.
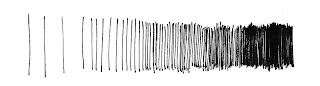

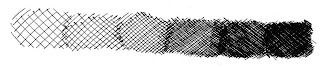

 To create tighter, darker tones, try cross-hatching with different angles of line. Combining the following two cross-hatching style, we create crystal like tones, usage - varies.
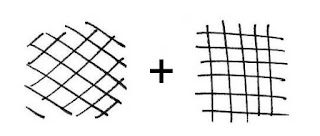
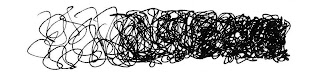
 The hatching style below is a unique hatching technique, you can use this to represent the texture on the object surface or to illustrate leaves on the tree branches. It may look complex but it's pretty simple actually, just keep drawing in a figure "8" shape at different angles and directions using single line only.
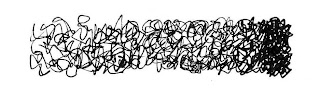


 So with the skeletal structure concept in mind, let's move on to drawing complex objects!


