
Using the sketch from previous chapter, I continued by inking the borders and conversation bubbles of my manga first.
It doesn't matter which part you start inking first actually, it is just my habit to put up boundaries for my manga before everything else.

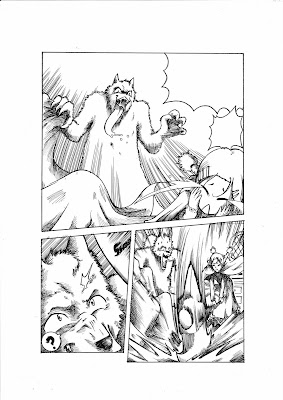
Next I begin inking the contents using both outlining and hatching techniques. It'll take awhile to finish this y'know, so just take your time and ink your manga slowly. Once you're done inking everything, erase the pencil outline.
 Double check your manga to see if there're any extra lines that were drawn, correct them using white ink or if you're as lazy as I am, you can just scan your manga into computer and correct the flaws using photo-editing software, in this case, I used Photoshop for all my touch up work.
 If you haven't notice anything yet, there are couple of areas that I wanted to touch up in my manga, here I've circled them up for your reference so you know what I'm actually doing.
 Alright, now I'm done with touching up, tada!
Yeah, I know, not very grand, but still hope it'll serve the purpose and you actually learned something here.

Thank you~ =)
ReplyDeleteI really like your blog. You have a sense of humor and very informative article. Thank you for sharing. Keep up the good work.
ReplyDeleteCaren
www.gofastek.com